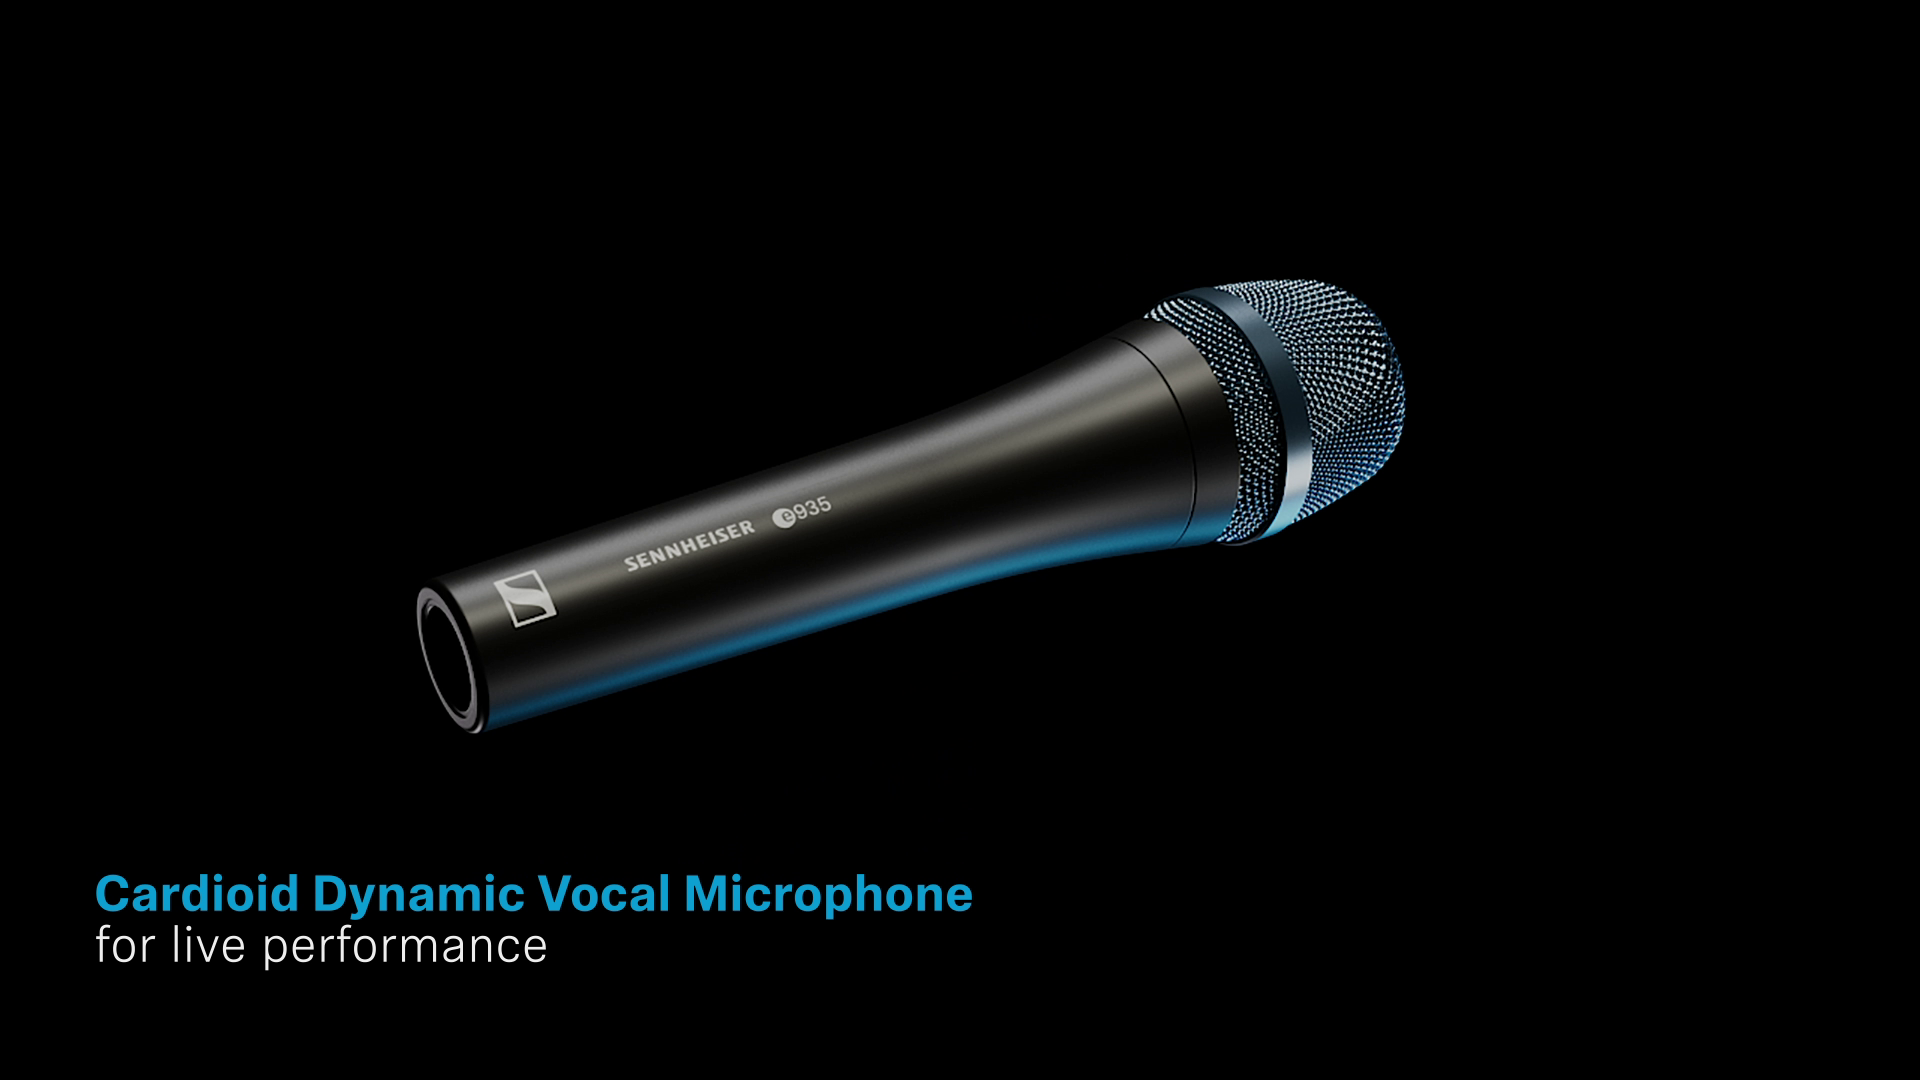
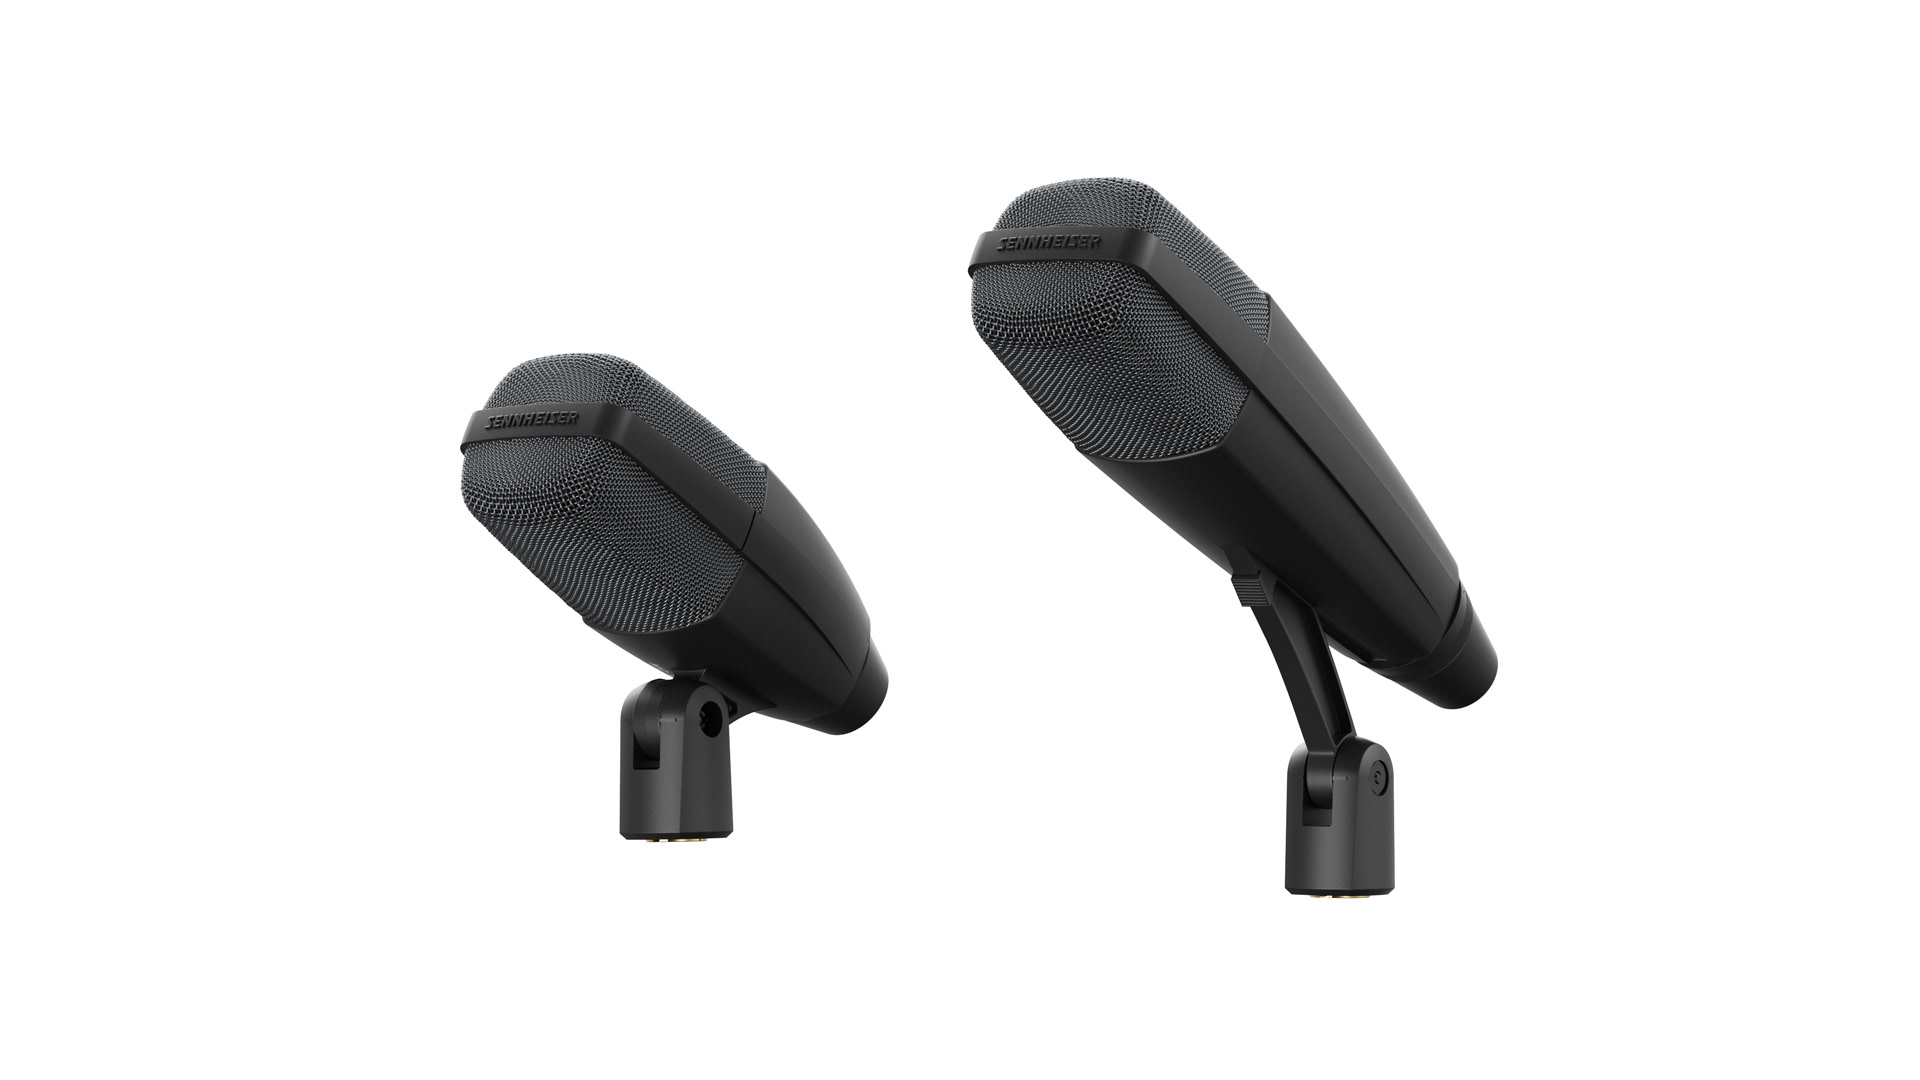
This year I had the pleasure of creating a couple of animations for the 'mic of the month' campaign for Sennheiser where each month one specific microphone is highlighted. I also created the launch video for the worldwide launch of the MD 421 Kompakt microphone, the successor of the iconic MD 421.
This animation was part of a bigger campaign with multiple individual animations for the 'mic of the month' campaign.
The grille / wire mesh
For each microphone I had to create the mesh grill in 3D since the CAD files only contain a placeholder for that part. That's usually not 'constructed' in CAD but molded in the actual production process, therefore not available in a digital format. Here's a brief overview of the virtual molding process in 3 steps:
- I created a wire mesh structure (with the formula effector and a sweep nurbs in C4D)
- Then simulated a plane of roughly the same size over the placeholder shape and used it on top as a casting mold to iron out any folds.
- Then transfered that molded shape to the wire mesh with a mesh deformer. That way I get the perfect shape but retain the wire structure.
Sounds complicated but once established it's a pretty straight forward process. This way I can create a perfect wire mesh shape for each individual microphone. See video below for a tutorial on how I modeled the grille on the e904 microphone:
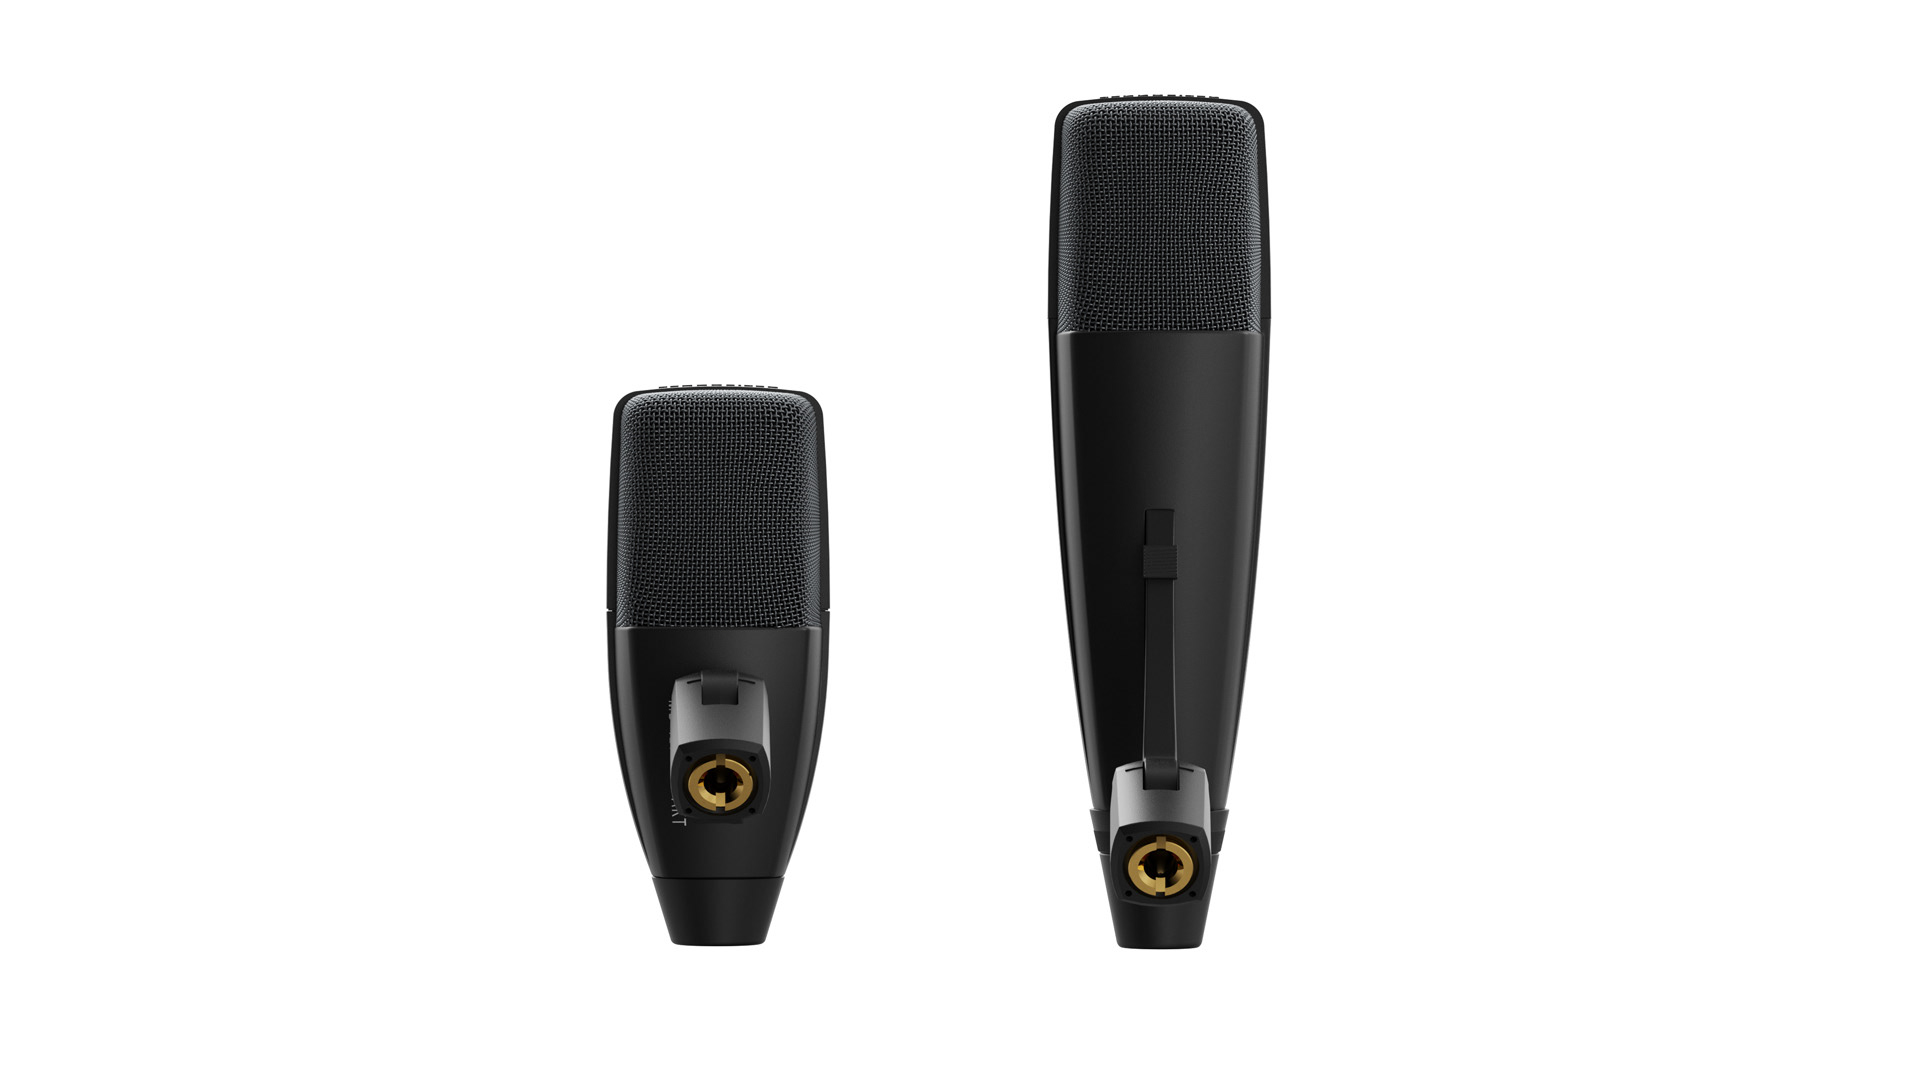
For the opening shot I had to model the classic MD 421 from scratch based on the CAD file of the new MD 421 Kompakt. Since my polygon model had to compete with the CAD model and the original MD 421 has been a popular microphone for musicians worldwide for decades, every detail had to be 100% accurate. The clamp and some details along the body were particularly challenging. See the original CAD file and my polygon model side-by-side below.
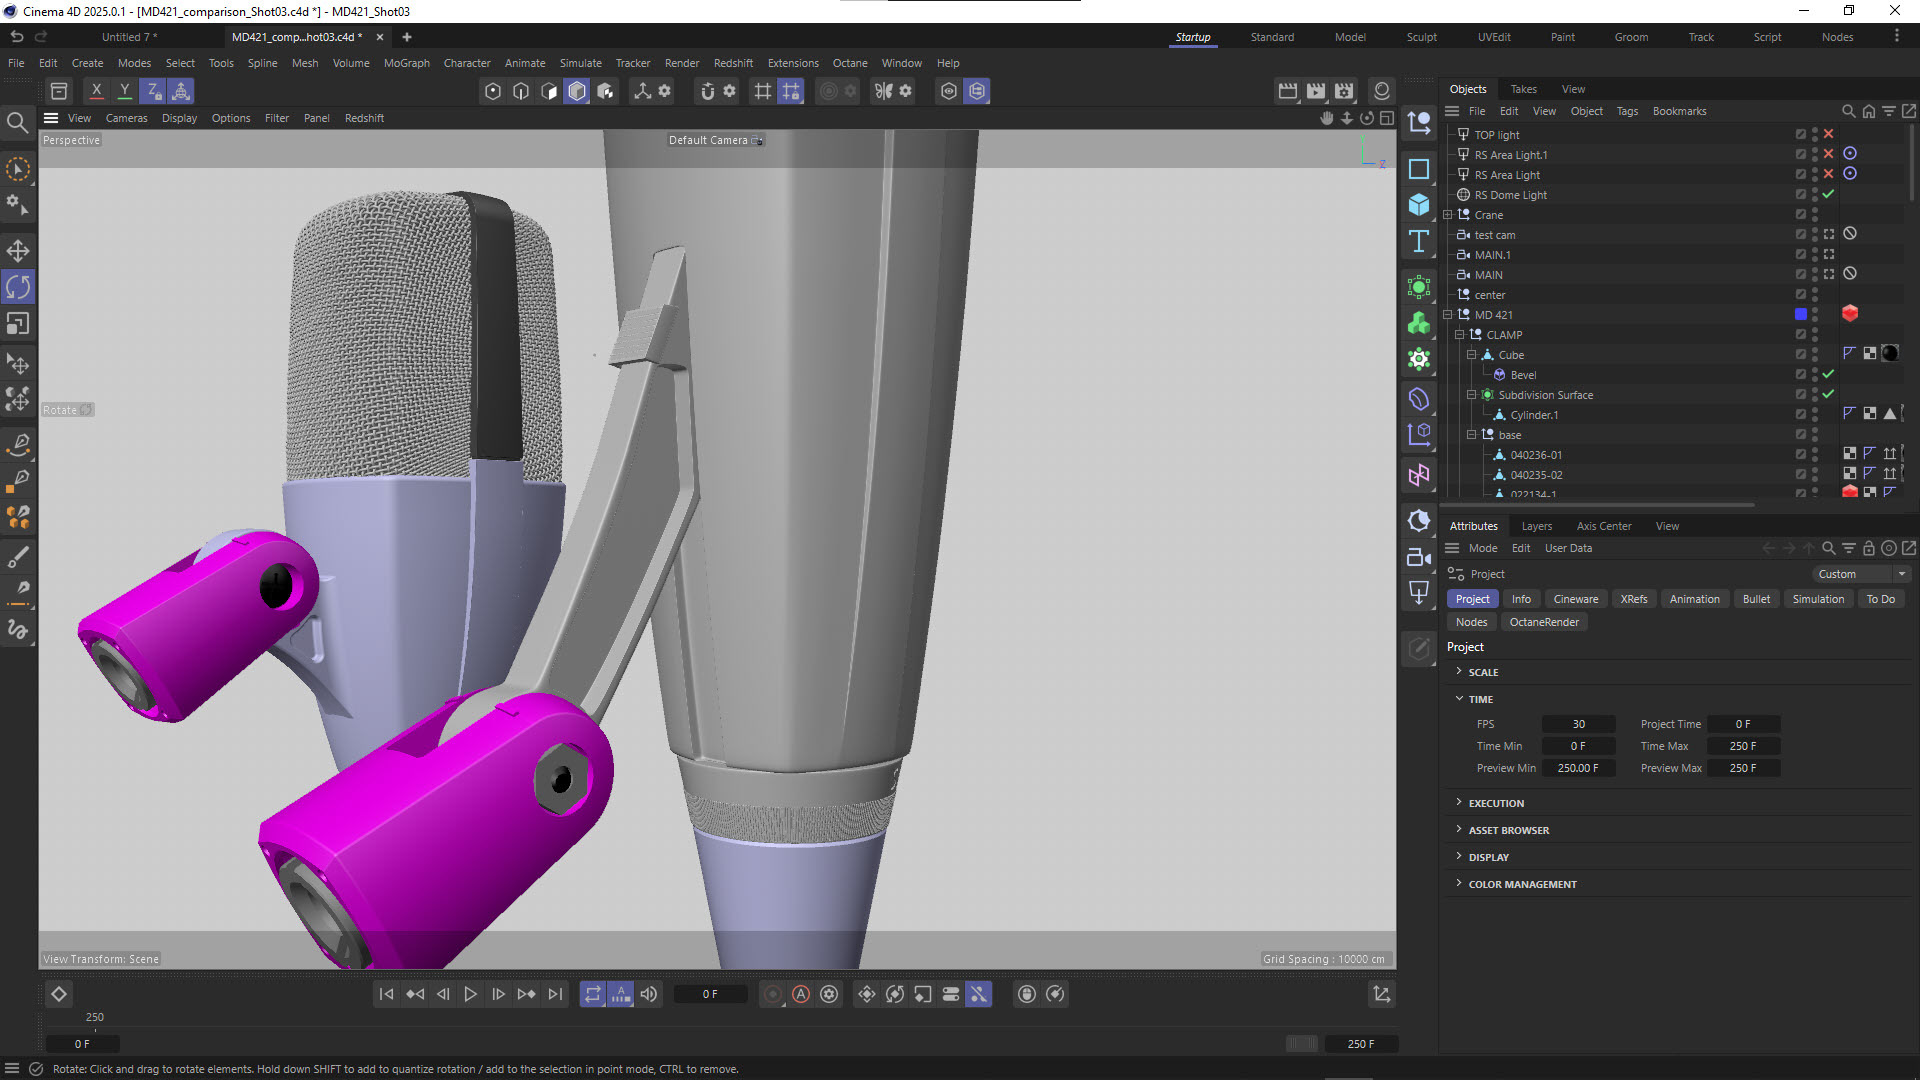
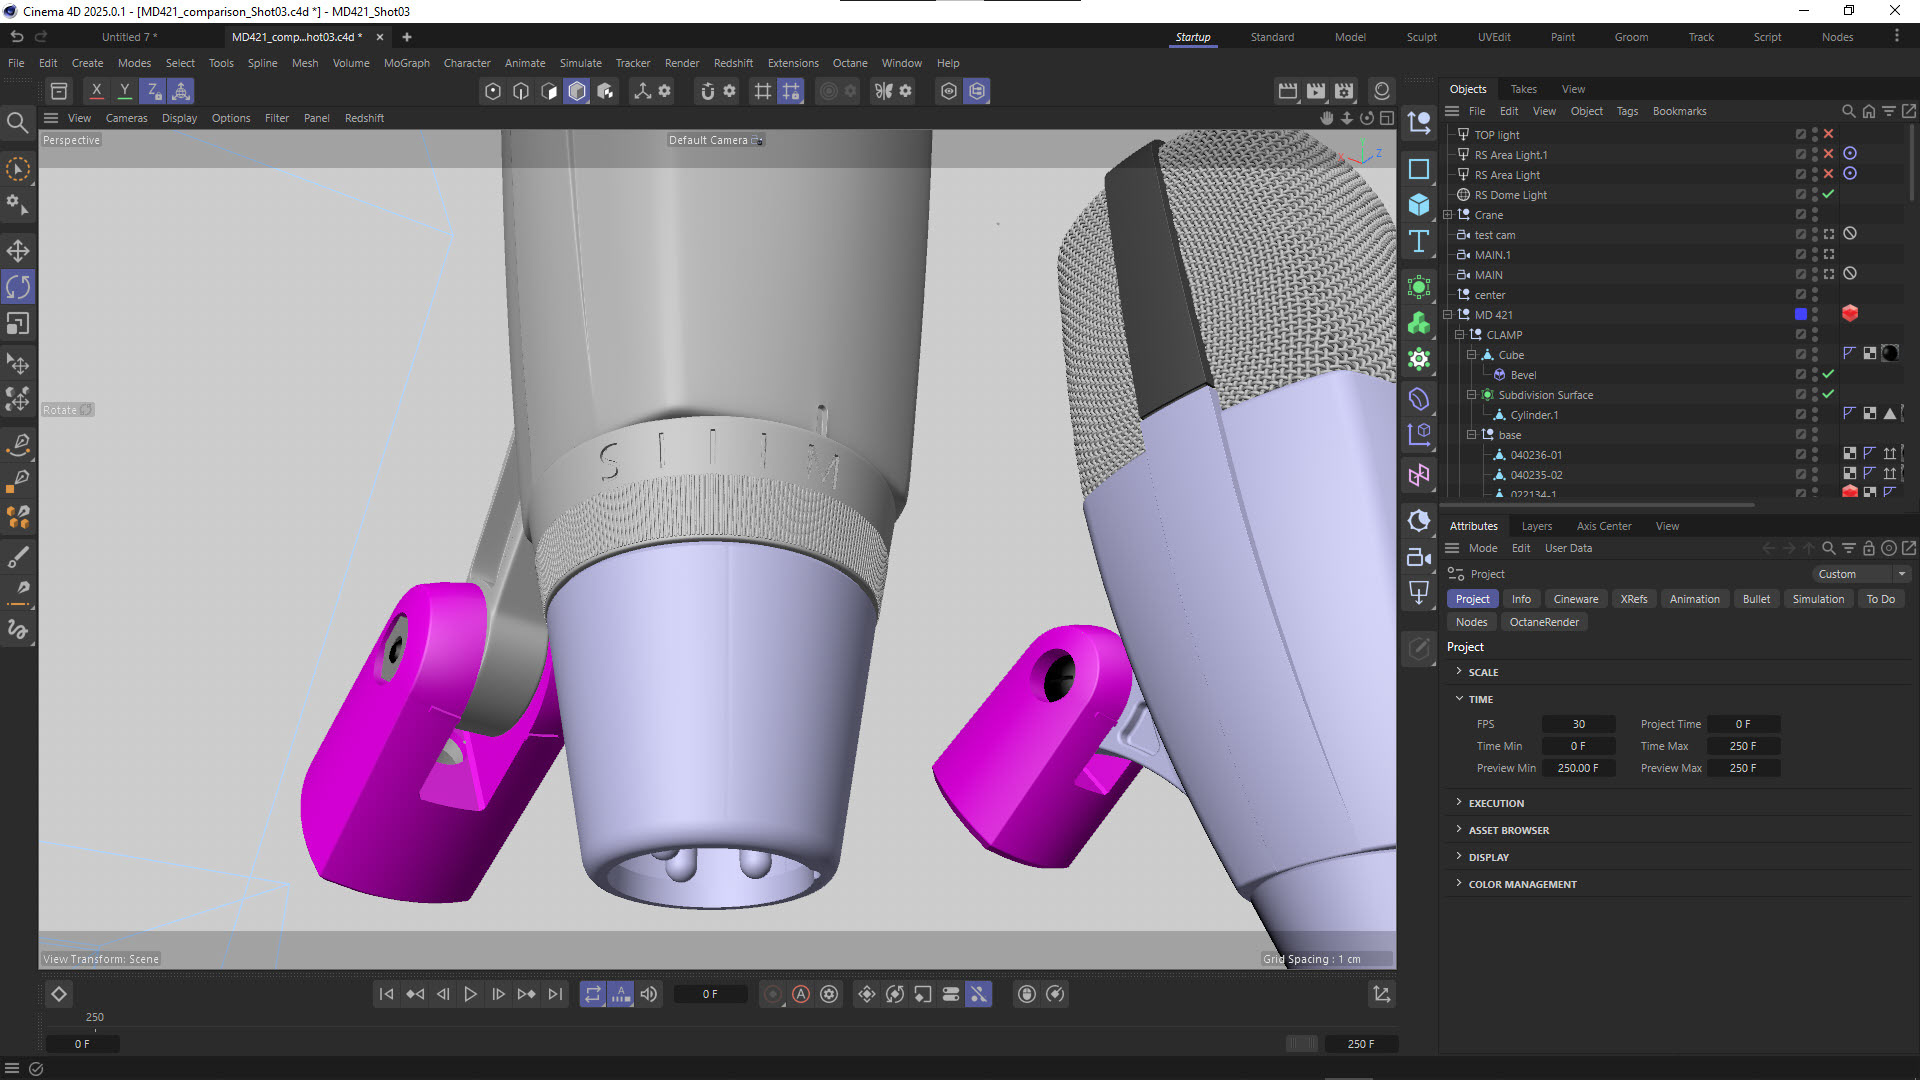
HDR Light Studio
An absolute invaluable tool in this process is HDR Light Studio which I have been using for a couple of years now. The number of options I have with this software to create the perfect lightmap is absolute mindblowing. It comes with a vast preset library for every light former imaginable and you have perfect control over each light. I have established a specific workflow for animations, where I basically merge the still render workflow with animation workflows which would not be possible with another software. With the light paint mode I can place each light perfectly where I want it to be (rim, fill etc.) and with one click I can promote it to an area light within Cinema4D which I need for my animation workflow. That's where I'm basically combining 2 different workflows (HDR map and area lights). This would not be possible or at least much more time consuming with only the C4D onboard tools.
After Effects
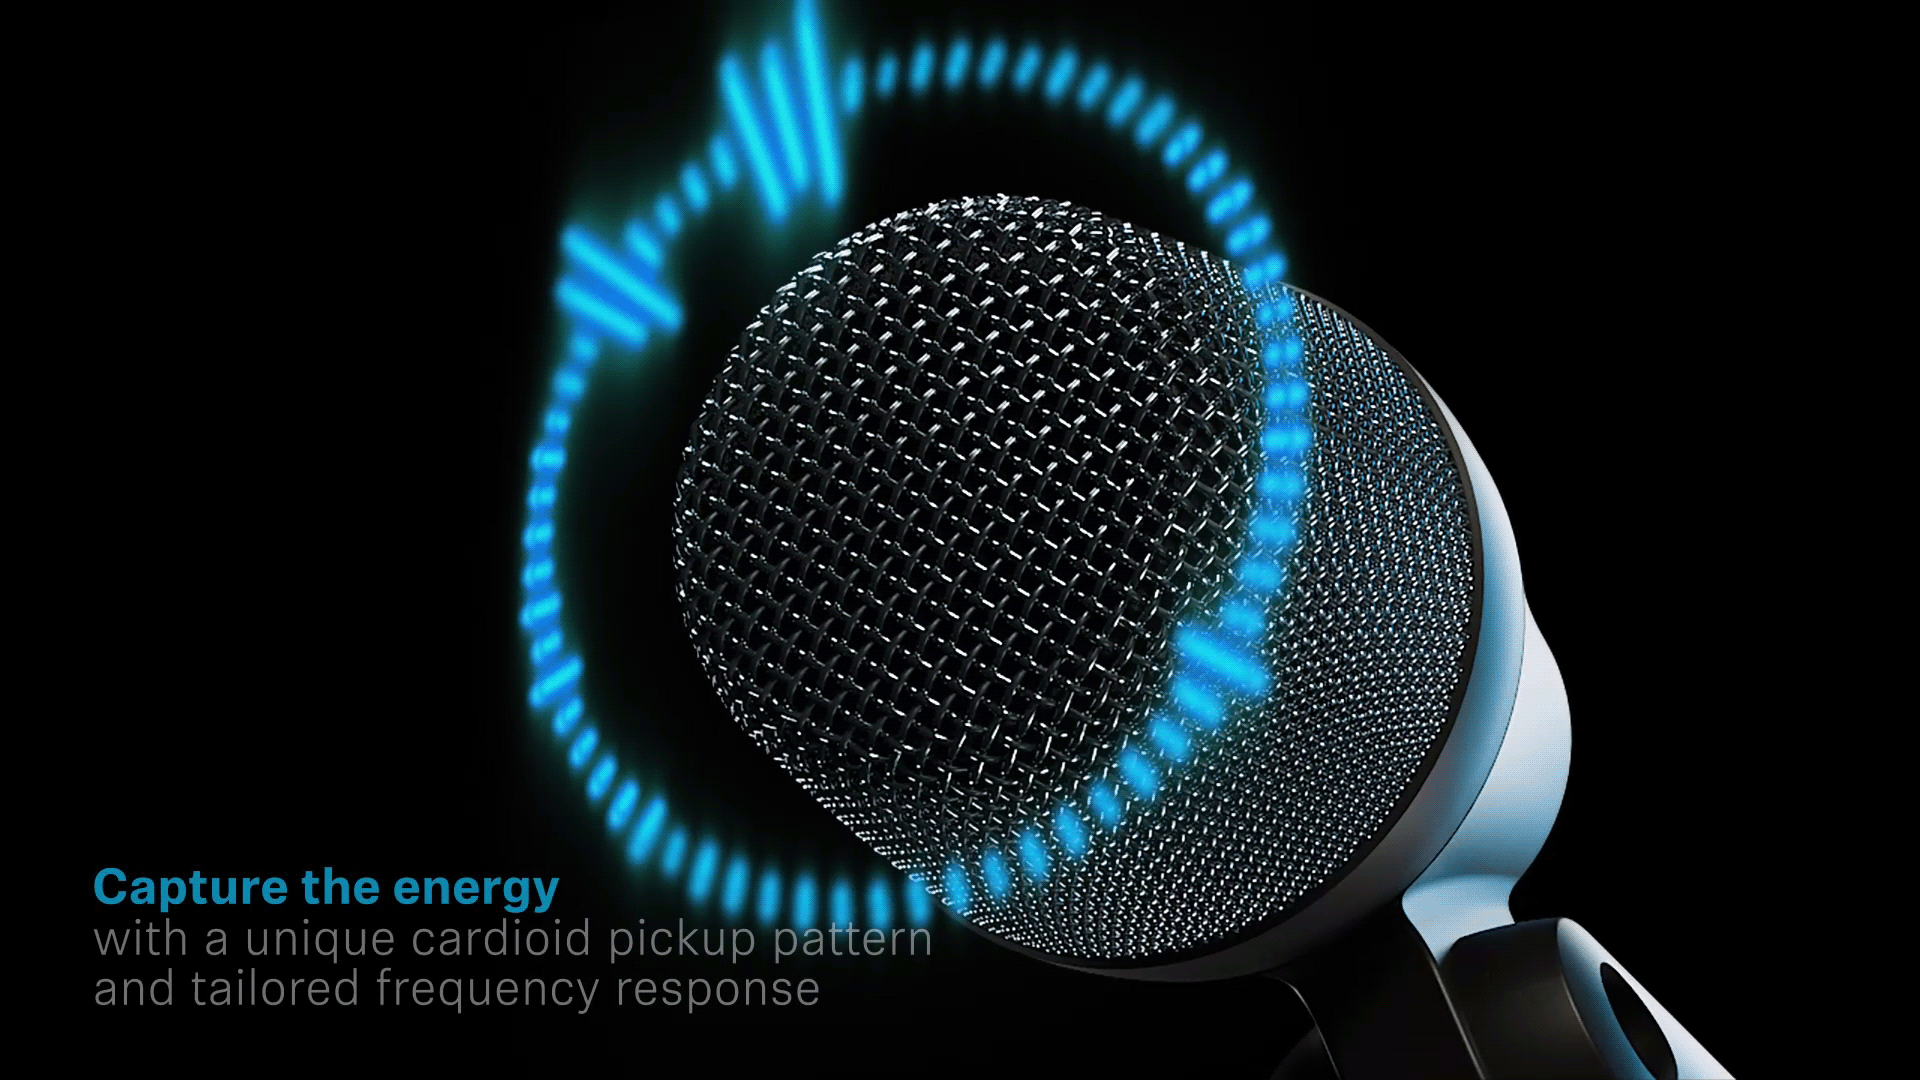
Everything comes together in After Effects with text callouts and some background FX like the reactive soundwaves effect as seen below. I also created dedicated formats for social media such as square and vertical. From my experience square can be extracted from widescreen formats 90% of the time. But vertical usually requires a dedicated render pass just for this format because the cropping or negative space just wouldn't work when extracted from a regular 16:9 animation.
